How To Resize Images on Canva For Your Website
Building your own website or a client’s website can be very exciting! When you start creating, you start flowing, and when you start flowing, it’s hard to stop. You start uploading content, photos, colors, and fonts! But have you ever noticed that when you publish, your photos take a while to load?
I have some clients that add RAW photos to their site straight after a photoshoot. If you do this, your site will slow down due to the large file size. Yes, you want your photos to be of good quality, which we can achieve, but uploading multiple large images in a page can affect site performance.
See below best practices for image size and file size using Canva (Click here for the Photoshop version). In this example, we’ll be sizing a banner image.
Tools You’ll Need:
Canva (it’s free!)
File Size:
Image files should be no more than 500 KB.
Recommended Image Size:
Banner Images: 2000×1500 (height can be adjustable)
Square: 1500×1500
Vertical: 1500x1800
Horizontal: 1500×1100
File Types:
Save images in .jpg, .gif, or .png format only.
.pdf, .psd, .tff, and .doc files aren’t web-compatible.
Steps:
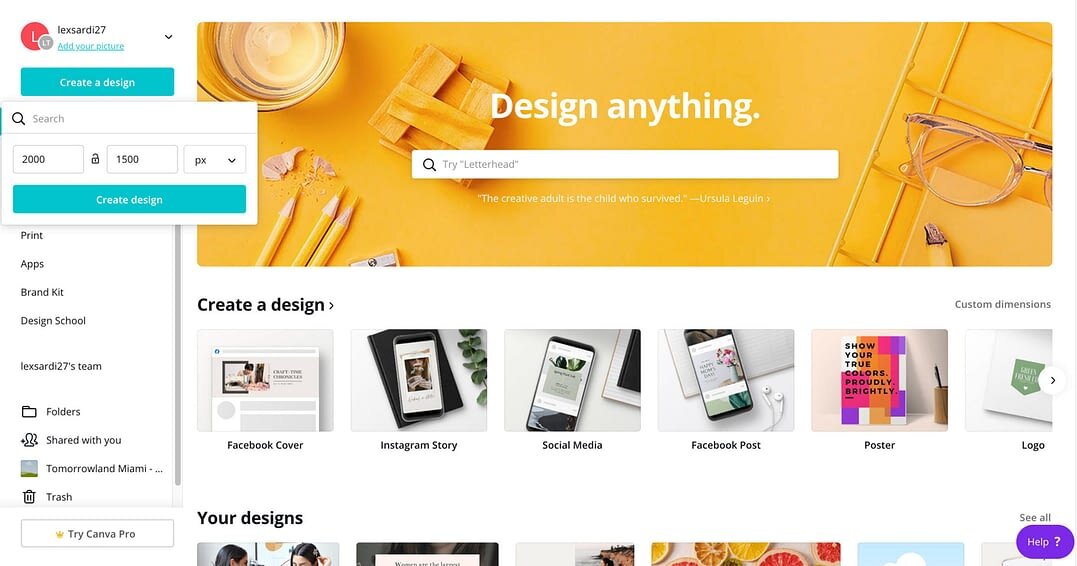
CLICK HERE to sign up or log in to Canva (it’s free!)
On the top left corner, click on the teal button, “Create Design” for the dropdown
Click on “Custom dimensions” and put 2000×1500, and click on “Create Design”
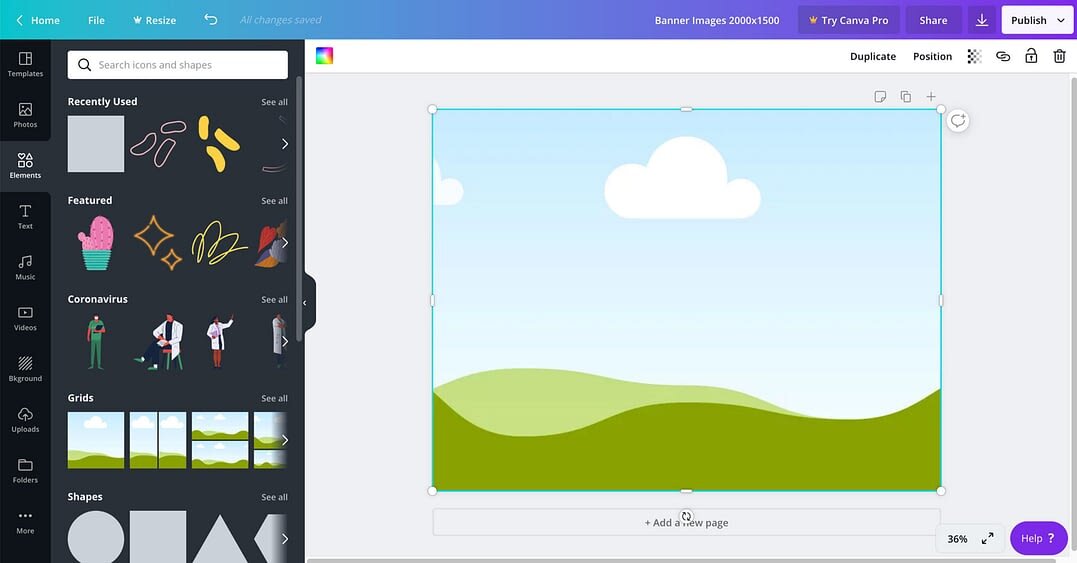
4. Name your file “Banner Images 2000×1500” and you can use this for all your banner images on your website
5. On the left, click on “Elements”
6. Under “Grids” click on the single image element
7. On the click, click on “Uploads” and upload an image of your choice
8. Drag and drop it to the image element on the artboard
9. Resize if necessary
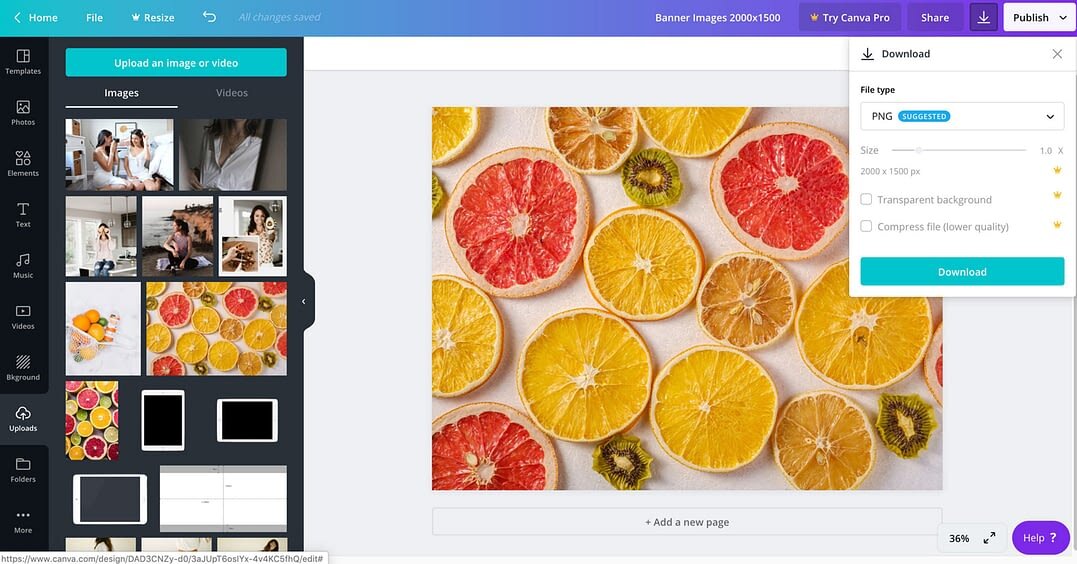
10. On the top right corner, click the “download” icon and download as .PNG
11. Add to your website